


Part 1: Project & File Management (Top Bar)
The top-right bar provides essential actions for managing your presentation project:
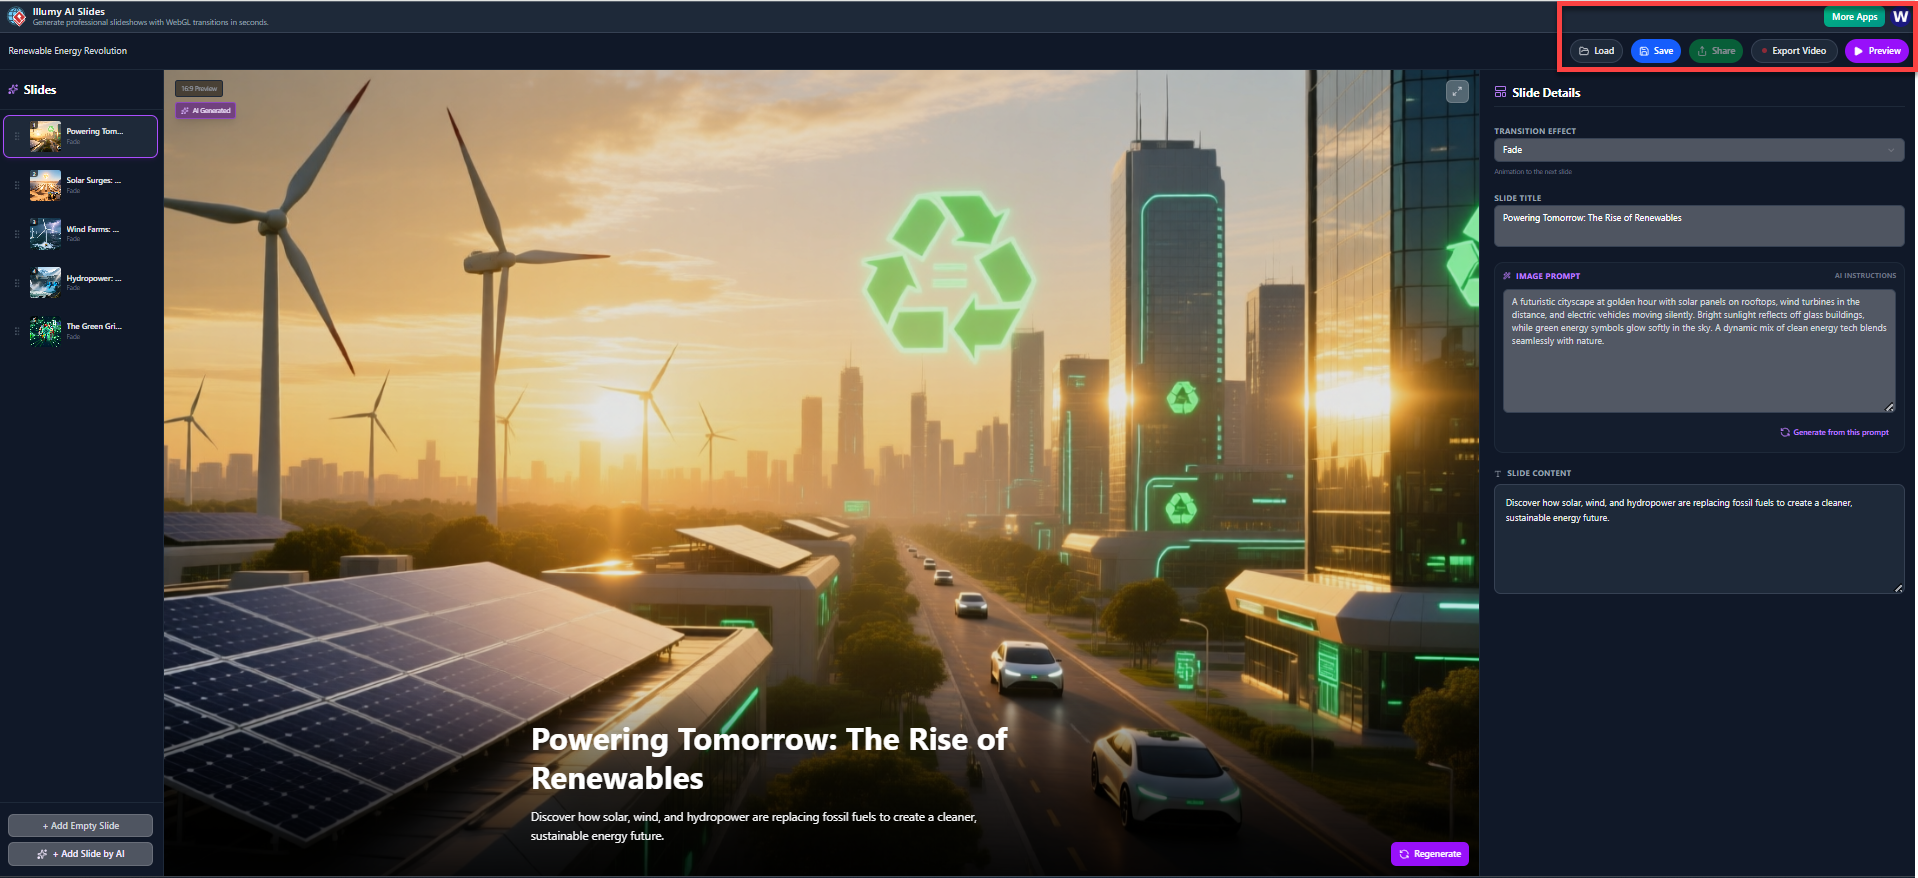
| Button | Function |
| Load | Opens a saved project file. |
| Save | Saves the current state of your slideshow project. |
| Share | Generates a link or option to share your project. |
| Export Video | Renders the complete slideshow into a video file (the final output). |
| Preview | Initiates a full-screen playback of the presentation, showing transitions and timing. |
| More Apps | Accesses other tools or applications from the developer. |
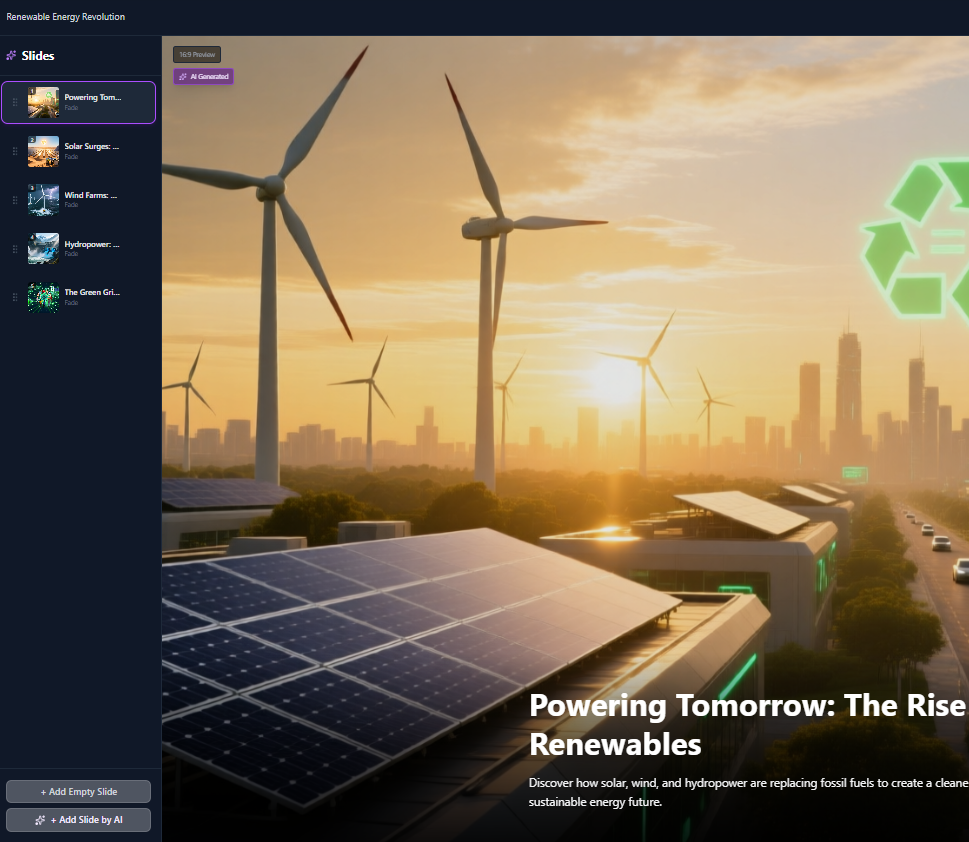
Part 2: Slideshow Outline & Navigation (Left Sidebar)
This area shows the structure of your presentation and allows you to move between slides.
-
View Slides: All generated slides are listed vertically with their thumbnails and titles. Click any slide to select it and view its details in the main canvas and right sidebar.
-
(Note the
10.0 s Previewtime visible on the current slide, indicating the duration of the slide in the final video.)
-
-
Add Slides:
-
+ Add Empty Slide: Adds a blank slide to the outline, allowing you to manually input all content and prompts. -
+ Add Slide by AI: This is the primary AI feature. Clicking this likely prompts the AI to generate a new slide (including title, content, and initial image prompt) based on the theme of your existing presentation.
-
Part 3: Editing Slide Details (Right Sidebar)
Once a slide is selected, the right sidebar provides detailed controls for customization, particularly leveraging AI for visuals.
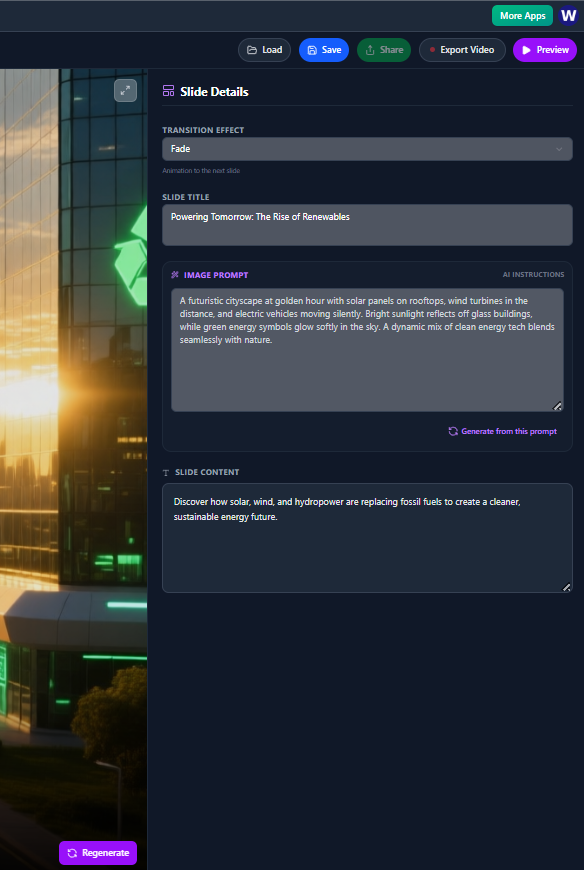
1. General Slide Settings
| Setting | Function |
| Transition Effect | Selects the visual effect that plays when moving from the current slide to the next one (e.g., Fade). |
| Slide Title | Allows direct editing of the main title that appears on the slide canvas. |
2. AI Image Generation (IMAGE PROMPT)
This is where the visual background for your slide is controlled by a descriptive text prompt.
-
Review the Prompt: The large text area displays the detailed
AI Instructions(the descriptive prompt) used to generate the current slide background image. -
Edit/Refine: You can modify this text to change the setting, subject, lighting, or style of the image.
-
Generate Image: Click
Generate from this promptto use your updated text to create a new background image for the slide.
3. Slide Content (SLIDE CONTENT)
This text area displays the subtitle or main body text that appears on the slide canvas, underneath the title.
-
Edit: Manually adjust the supporting text for the slide here.
Part 4: Editing on the Canvas & Finalizing
1. Canvas Editing (Center)
-
Direct Text Editing: You can usually click directly on the Slide Title and Slide Content on the main canvas to quickly edit the text, though the right sidebar fields are also linked.
-
Visual Regeneration: The
Regeneratebutton (located beneath the slide content on the canvas) offers a quick way to generate a new visual background for the slide using the existing Image Prompt without having to click the button in the sidebar.
2. Finalizing the Slideshow
After all slides and visuals are prepared, use the main action buttons in the top bar to conclude your project:
-
Click
Previewto review the timing and transitions of the full presentation. -
Click
Saveto ensure your final work is backed up. -
Click
Export Videoto render and download your final Illumy AI Slideshow video.
